How To Build A DIY Montessori Bookshelf
How To Build A DIY Montessori Bookshelf
A Montessori bookshelf is ideal for arranging any area of your house and creating extra space, especially in a toddler playroom.
Children may easily reach their books on Montessori bookcases without an adult's assistance. They're the perfect baby shower gift for the new baby’s nursery.
But is it possible to construct a Montessori bookshelf yourself? This article gives you all the answers you need on how to build the perfect homemade wood shelf.
Montessori Bookshelf Styles
While the purpose of Montessori furniture is to influence engagement and cognitive development, there's no sure way to know if your child will take to it immediately.
Fortunately, there are several book display styles to choose from to pique their interest:
- Low-to-the-ground Montessori bookshelves
- Montessori floor standing open shelves for kids
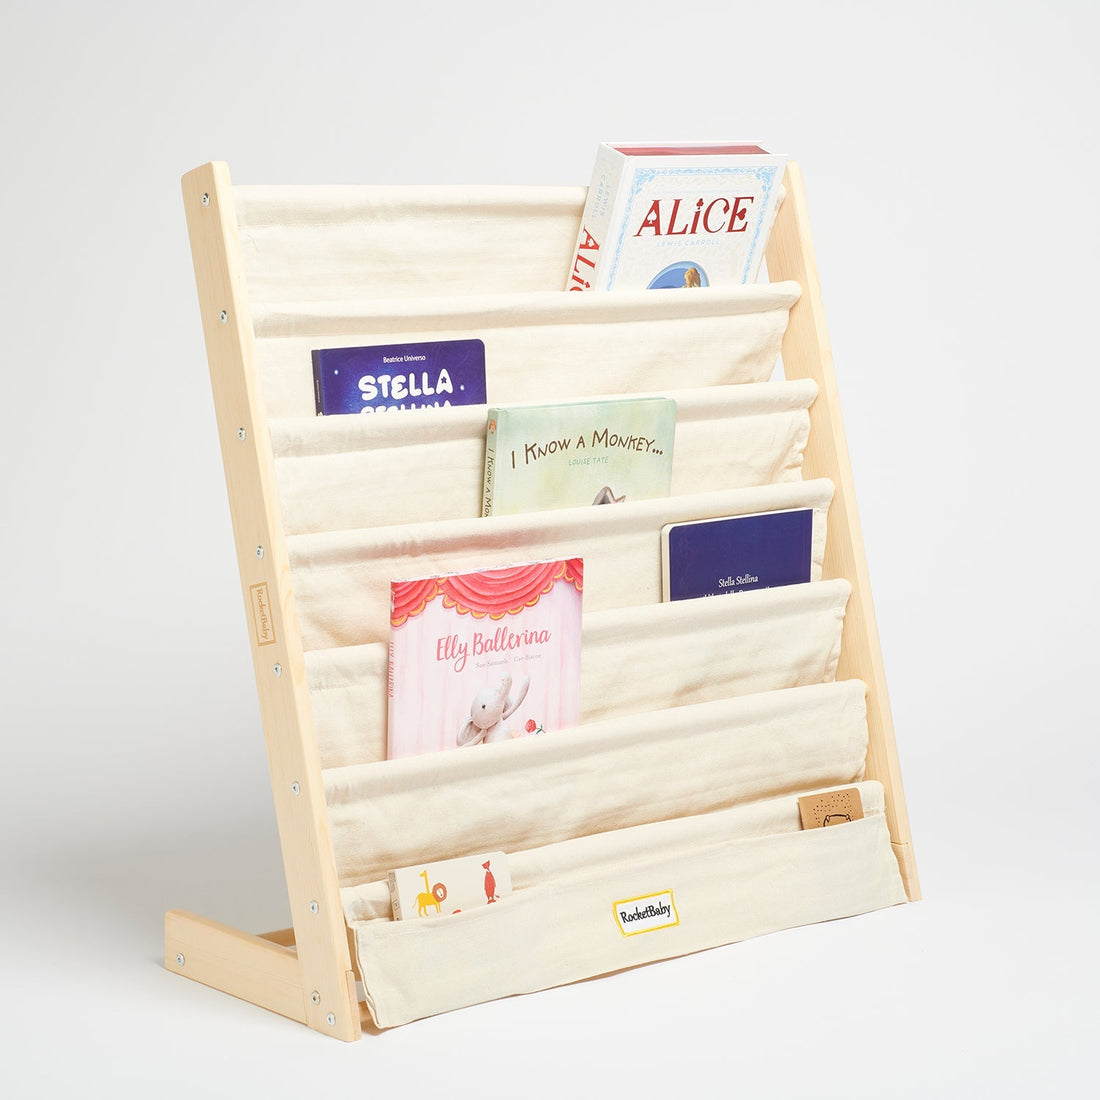
- Front-facing bookshelves
- Wall-mounted bookshelves
- Bookshelves made from natural materials or natural wood
- Baby bookshelf
- Toddler bookshelf
- Nursery room shelves


Why You Should Build a Montessori Bookshelf for Your Child
The Montessori bookshelf is designed with the Montessori principles of independence, organization, and individualization in mind. Open shelves allow children to access children's books, making it easier to choose which book they want to explore.
Here are the three main benefits of creating a DIY Montessori wooden bookshelf.
Encourages Order
Because it provides a defined area for the child to find their toy and put it back, the Montessori open shelf helps satisfy the child's desire for order. This storage system is also perfect for busy families because it keeps things organized and prevents clutter.
Independence
Independence aids in the child's development of confidence and self-worth. Even the tiniest tot can reach for their picture books or chapter books on the Montessori shelf as soon as they start moving around on their own.
Clear and Limited Choices
The Montessori shelf also provides the child with a clear and constrained collection of books displayed at their eye level. Early decision-making experiences help youngsters develop cognitive skills. These will help them as adults to solve problems and make better decisions.

Tools and Equipment Needed to Build a Montessori Bookshelf
A simple project like making a shelving unit can require a lot of tools. But you don't need special skills or tools to create a shelf. You probably already have all the basic DIY tools you need. If you don't, most hardware stores carry these items.
Here are some supplies you'll need to build a shelf.
- Plywood - Plywood is the most popular type of wood used for building bookshelves.
- Clamps - Clamps hold the pieces together while you nail them into place.
- Nails - Nails go through both sides of the timber or molding and into the wall.
- Screws - Screws go through one side of the wood or molding and screw into the wall.
- Drill - You will use this to drill pocket holes for the nails to go through. These will connect the wood pieces.
- Sander - A sander is necessary to smooth the wood after cutting it. This can prevent your child from getting splinters or injuring themselves.
- Track or table saw - The saw is essential to cut the wood into the desired dimensions.
What Are the Steps to Build a Montessori Bookshelf Yourself?
This DIY Montessori bookshelf is perfect for toddlers learning how to read. They can easily reach the books while standing up straight. You don't even have to bend over to pick out a book.
Whether you know how to build bookshelves or not, it's easy enough for anyone to learn. Follow the steps listed below to construct a Montessori bookshelf:
Step 1: Plan
Plan how wide and tall you want your front-facing bookshelf to be before you begin construction. Remember that it shouldn't be so high that a toddler can't reach it. Plus, there are bookshelf construction plans you can access in the form of a digital PDF file.
Step 2: Cut According to Chosen Dimensions
Cut the wood according to the planned dimensions. Cutting the panels requires some patience and skill. You don't want to make too many mistakes because you'll end up wasting material.
If you're working with wood, it's best to use a track saw or table saw to cut the panels. A circular saw won't work well here because it doesn't provide enough control over the blade depth.
Use a sanding block to smooth out any rough edges left behind after cutting the panels.
Step 3: Connect Them Together
The next step is assembling the shelf. This is where you use pocket screws and nails to attach the sides to the base. You'll want to ensure that the screw heads are hidden behind the face frame.If you're worried about drilling into the face frame, you can drill pilot holes first.
You'll also want to make sure that there aren't any gaps between the side pieces and the front piece. To do this, you can use a wood filler to fill in the gap around each corner. Once the filler dries, sand it down smoothly.
Step 4: Customize It
The shelves are ready. The ability to customize your own Montessori front-facing bookshelf at the end is its finest feature. Add stains or paint colors of your choice to complement the children's room decor.
This part of the project is easy enough that even your kids could do it. The following steps walk you through the process of painting.
First, ensure you've got everything you need to complete this project. You'll need painter's tape, a roll of paper towels, a bucket, a brush, a roller, sandpaper, and a few drops of wax oil.
Apply painter's tape around the perimeter of each shelf. Make sure there is no overlap. If you don't want to use painter's tape, just cut out pieces of cardboard or newspaper and stick those around the edges of the shelves.
After you finish painting:
- Take a moment to clean up.
- Remove the tape and throw away the scraps.
- Sweep up any loose debris.
Step 5: Ensure the Wall is Secure
A child may find a front-facing bookcase especially alluring since it may resemble stairs. In case your child reaches for something on a higher shelf, make sure it is fastened to the wall.
And that's it. Your bookshelf is ready for use. The shelves are very sturdy and will last for many, many years. Your children will enjoy reading every day. All it takes is just a few hours to build one.
Frequently Asked Questions
What is a Montessori bookshelf?
A Montessori bookshelf helps kids locate books for children easily. This type of bookshelf differs from traditional bookcases because books don’t face inward as most shelves do. Instead, books face outward towards the child.
How do you assemble the shelves?
Bookshelves are assembled using wood glue, screws, nails, and other common household items. The first step is to measure where each shelf should be placed, then cut out the shape of the shelves from plywood.
Next, drill holes for the screws and use a screwdriver to put them into the backside of the shelves. Finally, attach the shelves together using wood glue.
What panels do you need?
You will need the following panels:
- Five panels 900 x 210 mm and seven panels 900 x 60 mm for the shelves
- Two panels cut according to the design files for the sides
How did you cut the panels?
Cutting bookshelf panels is easy to do. Just use a track or circular blade. The trickiest part is cutting out the back panel.
To remove the back panel, first mark where the back panel starts at the top edge of the shelves using a pencil. Then carefully pry up the front of the shelves until they come off.
How do you paint the shelves?
The best way to paint a bookshelf is using spray paint. Spray paints are easy to use, and they give a great finish.
However, when painting a bookshelf, it is important to be careful where you apply the paint. If you accidentally put too much paint on one spot, then you may end up having to repaint the whole shelf.
Explore Montessori Bookshelves With RocketBaby!
There are many ways to create this type of shelf, depending on your budget, skills, and materials. If you're ready to build one, there's no better time to start than now. If not, you can always purchase a ready-made toddler bookshelf online.
You can even purchase a Montessori learning tower with RocketBaby to further improve your toddler's development. These items can make every day an entertaining and educational one for your kids.